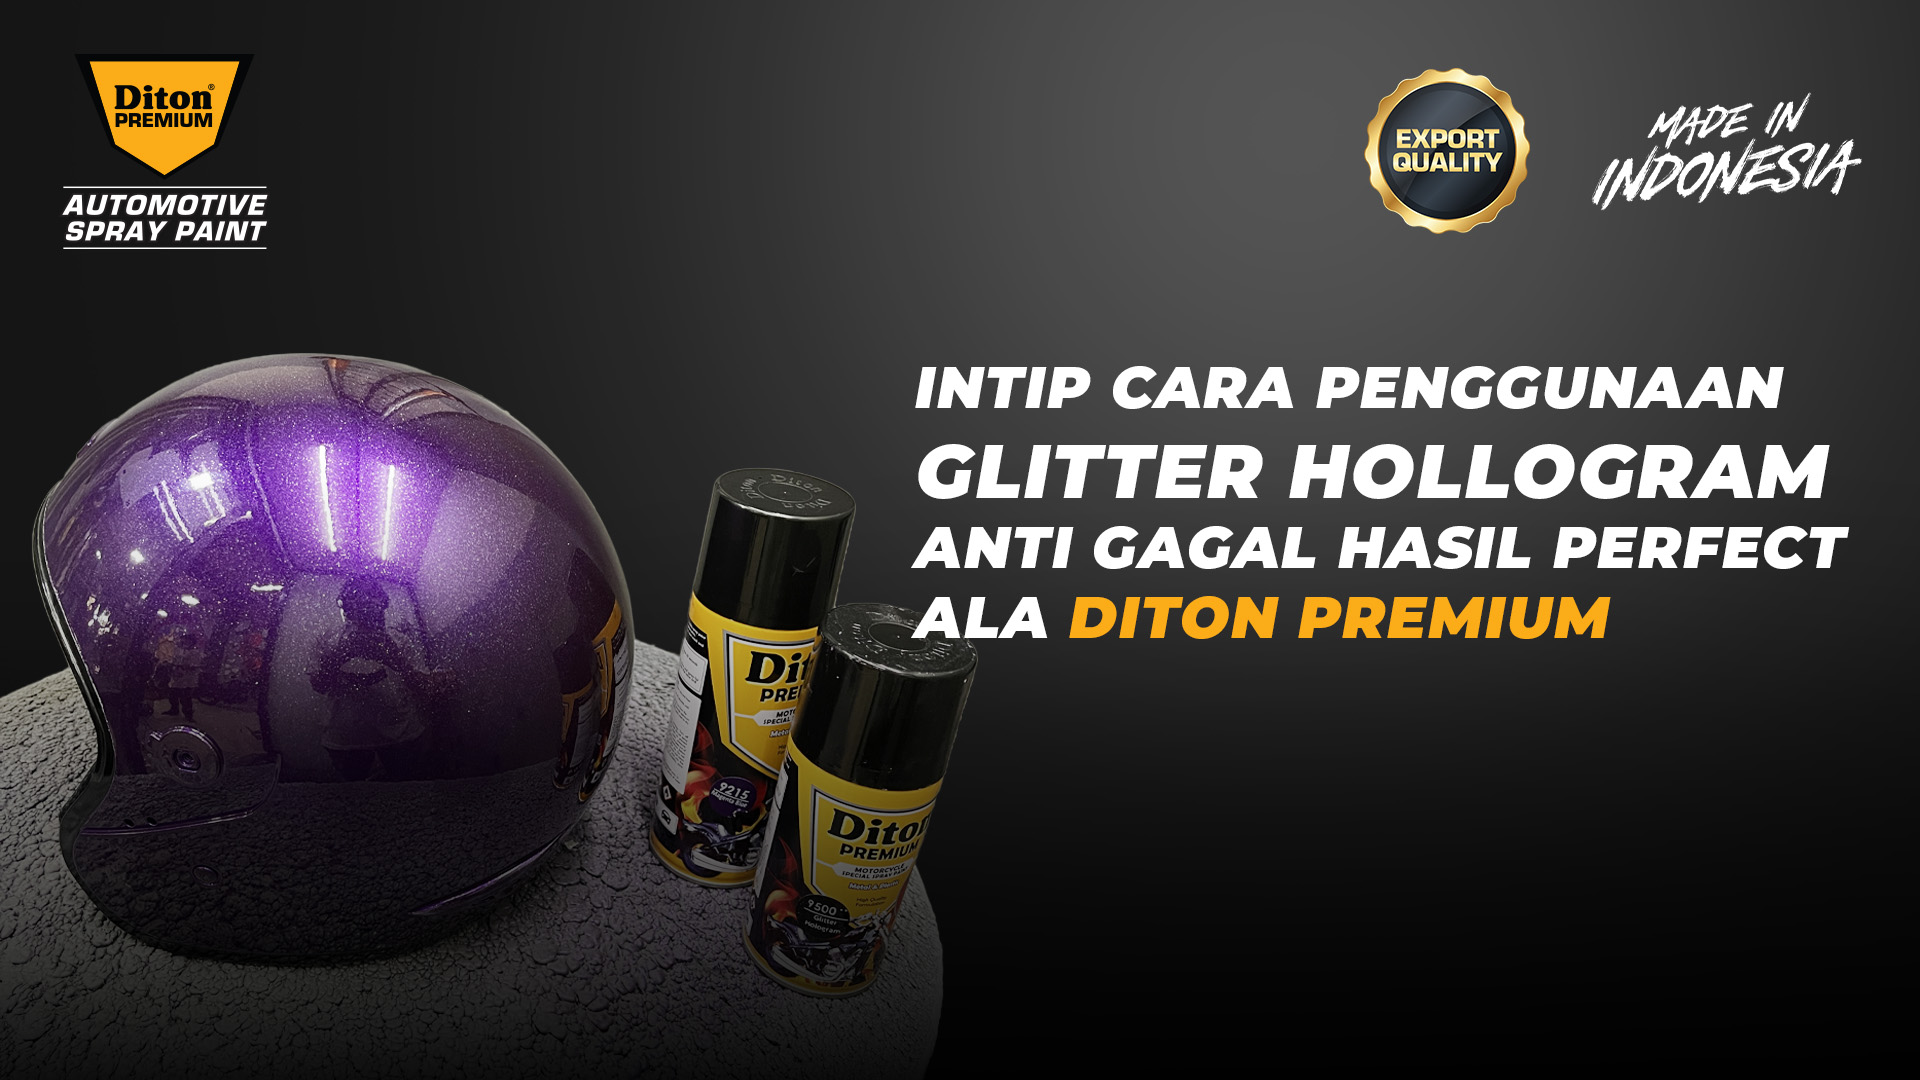
Take a peek at how to use the anti-fail Glitter Hologram for Perfect Results a la Diton Premium
Take a peek at how to use the anti-fail Glitter Hologram for Perfect Results a la Diton Premium
You as a motorbike owner are usually very concerned about the appearance of the motorbike to make it look more attractive. This display can increase confidence when driving on the streets with your favorite motorcycle, one of which is adding holographic glitter to the motorcycle body.
Adding glitter after repainting the motorcycle body can be a powerful way to make the motorcycle look more attractive. Besides looking like new again, this holographic glitter gives a brilliant impression especially when exposed to sunlight.
The process of repainting and adding glitter holograms cannot be done haphazardly. For that, there is a way to use glitter holograms that you can pay attention to below.
How to use Diton Premium Glitter Hollogram
Before adding glitter, you should repaint the motor body first with the appropriate color. The problem is that if the repaint process does not use the right colors, the results will be disappointing.
Prepare the necessary equipment
Prepare the equipment needed in advance so that the repaint process and the use of glitter holograms are successful. Equipment usually includes epoxy, thinner, paint, fine sandpaper, glitter powder and others.
Choose a base color
Make sure the motor body to be added with glitter uses a solid base color. You can use black as a color that is considered neutral and go into any additional color variants.
1 coat painting
After preparing the glitter hologram, you can start spraying the glitter hologram 9500 thinly and evenly. Make sure not to accumulate paint on any part of the motor body.
Drying process
If it feels evenly distributed, now is the time to dry the painted motor body. Wait for the drying process for about 5-10 minutes, avoid being exposed to direct sunlight.
If it has dried completely and you can see the glitter effect from layer 1 painting, then you can move on to the next stage.
2 coat painting
Still using the 9500 hologram glitter, spray only thinly and evenly throughout the motor body. Usually the glitter in layer 2 is more obvious and starts to have a charming effect.
Wait for it to dry again for 5-10 minutes for this 2nd coat painting.
Clear process
Not finished yet, Diton Premium still has a series of products that can complete the process of using glitter. Don't miss the clear process where the product used is clear gloss 9128 from Diton Premium which can give maximum results after using glitter hollograms.
The clear process itself is believed to provide a stronger color display and a glamorous effect.
Finishing Process
After the clearing process is complete, you are finally in the finishing stage where the Diton Premium product needed is clear 9128. Spray the product all over the motor body thinly and evenly for the first layer.
Wait for it to dry for about 5-10 minutes before moving on to the next step. Remember! Do not be directly overwritten with the next spray to prevent the effect of condensation, peeling paint and less glossy.
Spray again using clear 9128 thinly and evenly for the second layer, this process must ensure that the part dries first.
Wait again to dry for 5-10 minutes before spraying again using clear 9128 for the third stage.
Why is this finishing process so many times? Of course to give maximum results so that the glitter also appears stronger. The sparkle of the hologram will be more visible and shiny.
Diton Premium's various products can make you express your motorbike more attractive. The use of glitter holograms also gives a glamorous impression on your favorite motorcycle.